How to reduce photo file size (on any phone or computer)
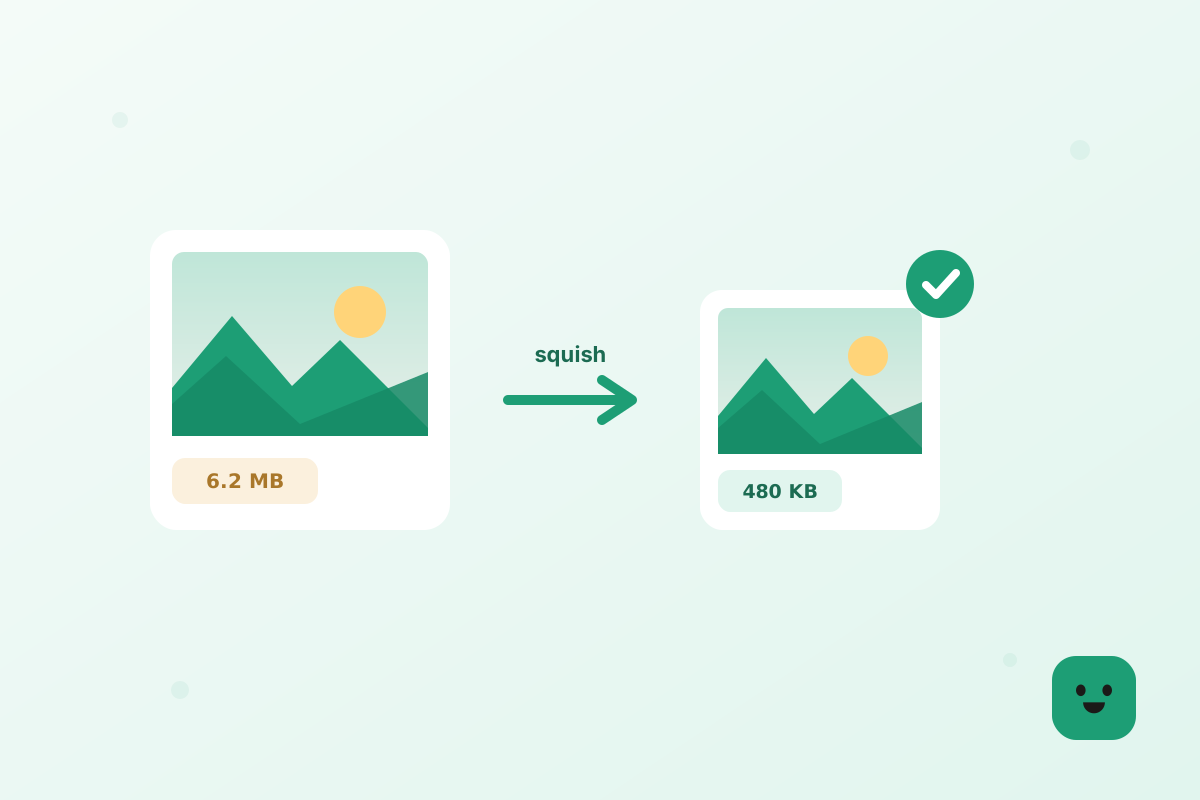
The quickest way to reduce photo file size is to make the picture smaller in pixels and save it as a compressed JPG, which turns a typical 5 MB phone photo into 300 to 600 KB with no difference you can see on a screen. A free photo size reducer in your browser does both steps at once, on any phone or computer, without uploading the photo anywhere. Below is how it works, how to do it on Windows and Mac, and exactly how small a photo should be for email, websites and forms.
The quickest way to reduce photo file size
A photo’s file size comes from two things: how many pixels it has and how efficiently those pixels are stored. A 12 megapixel phone photo holds 12 million pixels, and even a well-compressed JPG of that needs several megabytes. Cut the dimensions in half and you keep only a quarter of the pixels; save at a sensible JPG quality and the encoder throws away detail the eye cannot see. Together those two steps typically remove 85 to 95 percent of the file size.
You do not need to install anything to do this. Squishly runs in your browser, so you can drop a photo in, choose how small it should be and download the result in a few seconds. The work happens on your own device, which means the photo is never uploaded to a server, and your original file is left exactly as it was.
KBTry the toolReduce photo sizeOpenHow to reduce the MB size of a photo
If a form or an email says your photo is too many MB, the fastest fix is compression. Compression keeps the photo the same width and height but stores it more efficiently, so a 4 MB JPG often becomes 1 to 1.5 MB at a quality you cannot tell apart from the original. To do that on its own, compress JPG in your browser and download the lighter copy; the dimensions stay exactly the same, which matters when a site asks for a specific pixel size. If you have a mix of JPG, PNG and WebP files, the image compressor takes them all in one batch.
When compression alone is not enough, for example when you need to go from 8 MB to under 1 MB, combine it with resizing. Pushing compression harder on a full-size photo starts to show blocky patches in skies and smudged detail in faces; making the photo smaller in pixels first lets you keep the quality high and still land well under the limit.
One thing that does not reduce the MB size: renaming the file or changing the resolution number (the dots per inch). DPI is only a note to printers about how big to print the photo. A photo set to 72 or 300 DPI has exactly the same pixels and the same file size; only changing the pixel dimensions or the compression changes the megabytes.
How to make a picture smaller in pixels
Making a picture smaller in pixels means lowering its width and height, for example from 4000 by 3000 to 1600 by 1200. Keep the proportions locked so the photo is not squashed, and pick the size from where the photo will be shown: around 1600 pixels on the long edge for email and messaging, 1200 to 2000 for a website, and 1080 for most social media posts.
To do it in your browser, resize image to a preset or a custom width, and the height follows automatically. Because every pixel you remove is data you no longer have to store, a 1600 pixel copy of a 12 megapixel photo is roughly a sixth of the original size before any compression at all.
Avoid making a picture bigger again after you have shrunk it. Enlarging cannot add back detail that was removed, so the result looks soft. Keep your full-size original and make each smaller version from it.
How to reduce photo file size on Windows
On Windows 10 and Windows 11 the most reliable way to reduce photo file size is a browser tool, because it works the same on every PC and needs no extra software or codecs. Open Squishly in Edge, Chrome or Firefox, drag the photos from File Explorer into the page, and the smaller copies download to your Downloads folder. You can do a whole folder at once and save them as a single ZIP.
Windows also comes with apps that can resize a picture, such as Photos and Paint, but their menus have changed between versions and they work on one photo at a time. If you only have one photo and prefer a built-in app, look for a resize option in the editing menu and keep the aspect ratio locked. For anything more than one or two photos, the browser route is quicker.
If the photo is an iPhone HEIC file that Windows will not open, convert it to JPG first; the JPG is usually smaller than the original upload and opens everywhere. Your camera originals stay untouched in their folder either way.
How to reduce photo file size on a Mac
Every Mac has Preview, which can make a photo smaller without any download. Apple’s own instructions are short: open the image in Preview, choose Tools, then Adjust Size, make sure Resample image is selected, and enter smaller values, or pick a size from the Fit into menu. Keep Scale proportionally ticked so the photo is not stretched. The new file size appears at the bottom of the window before you confirm, which makes it easy to aim for a target.
Preview saves the change into the file you opened, so work on a copy if you want to keep the full-size original. For a batch of photos, or to compress as well as resize in one go, the browser tool is faster: drag the whole selection from Finder into the page and download them all at once.
How to save a photo as a smaller file
Saving a photo as a smaller file is mostly about choosing the right format. JPG is the standard for photos and is much smaller than PNG for the same picture; PNG is meant for screenshots, logos and graphics, and a photo saved as PNG can easily be five times bigger. If someone sent you a photo as PNG, saving it as JPG is often the single biggest saving you can make.
Newer formats go further. WebP stores the same photo noticeably smaller than JPG at similar quality and opens in every modern browser and most apps, so if you are putting photos on a website you can convert JPG to WebP and save more again. Keep JPG for anything you send to people on older devices, because a few older apps still cannot open WebP.
On an iPhone, the camera saves HEIC by default, which is already compact on the phone but often needs converting to JPG before you share it outside Apple devices; we cover the iPhone settings and shortcuts in how to reduce photo size on iPhone. Whatever you choose, save the smaller version as a new file rather than overwriting the original, so you can always go back to full quality.
How small should a photo be?
It depends on where the photo is going. For email, aim for 1600 pixels on the long edge and 200 to 800 KB per photo, which keeps a set of ten well under the 20 to 25 MB message limit; our guide to email large photos covers that in detail. For a website, 1200 to 2000 pixels and 100 to 300 KB per image keeps pages fast, and WebP gets you to the low end of that range.
For online forms, follow the limit the form gives you. Many ask for a photo under 1 MB, 500 KB or even 100 KB, and the safest route is to resize to around 1200 pixels and compress until you are under it. For printing, keep more pixels: about 1800 by 1200 for a 6 by 4 inch print and around 3000 pixels on the long side for A4 or US Letter, which usually means 1.5 to 3 MB per JPG.
For social media, the platforms resize and recompress whatever you upload, so there is no benefit in sending a 10 MB original. Around 1080 to 2048 pixels on the long edge is plenty, and a smaller upload goes up faster on a mobile connection.
- Resize to the size you need, then compress as JPG: 5 MB usually becomes 300 to 600 KB.
- Changing DPI or renaming the file does not reduce the MB size.
- On a Mac, Preview can resize with Tools, Adjust Size; on any device, a browser tool does both steps.
- Email: about 1600 px and under 800 KB per photo. Web: 1200 to 2000 px and 100 to 300 KB.